Training Tips
How to Update Arcam AVRs
By Tom Sanderson, Field Support Engineer

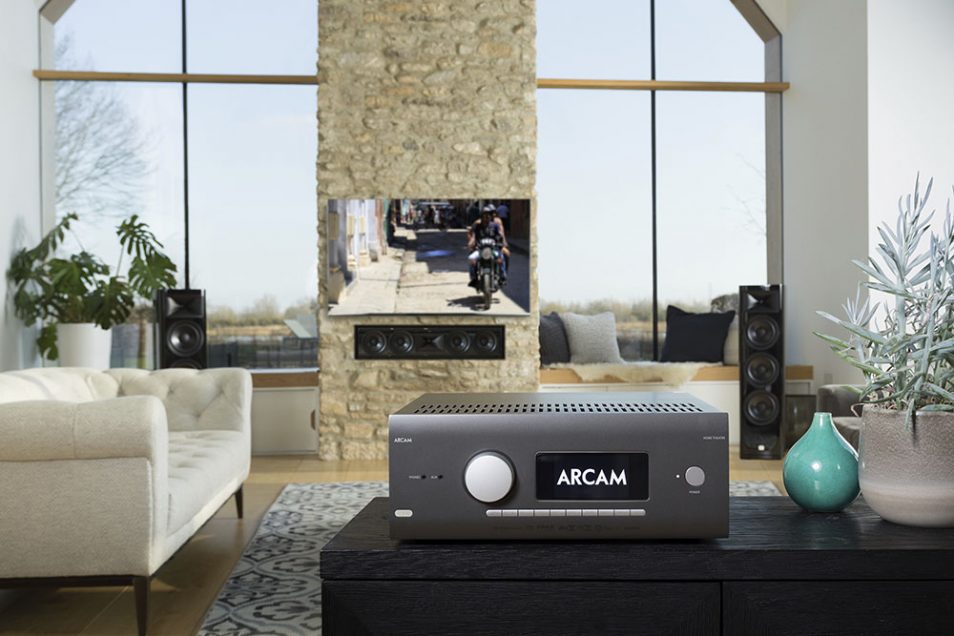
Hello, my name is Tom Sanderson and I am one of the Field Support Engineers for Harman Luxury Audio Group. Today I’ll be taking you through the update process for our exciting new Arcam HDA AVR and AV range, and answering that BIG question, “How do I update my AVR?” (For the purpose of this article, the term AVR will also include our AV40.)
When it comes to updates, our engineers have your back, no matter what way you want to update. Want to use USBs? No problem. Want to do it from a computer? Yep, you can do that. Or, do you just want the AVR to do it all for you? You guessed it; it can do that as well!
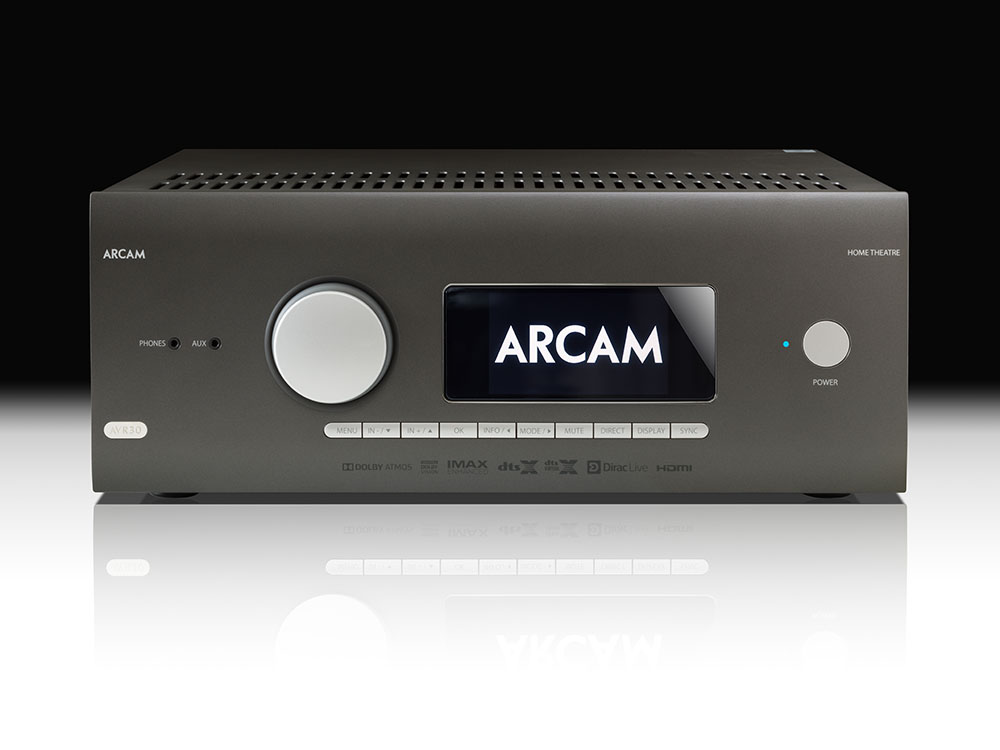
Firstly, before we get in to the nitty gritty of updating an AVR, you will need to check what software version your AVR is on. This can be done in the engineering menu; to access the engineering menu press and hold the MENU button on the front panel for 5 seconds. On the last page of the menu, you will see many numbers, but the important ones will be the Host /IAP x.xx/09 and Net 0.100.xxx.
If you are trying to update an AVR from Host 0.89 & Net 239 or below, then please email [email protected] with the subject “Update Help” and we will reply with a very handy guide for you. Those very early software versions need to be updated in a very particular way that I won’t go into here as most people should be on much later software versions.

There are two main parts to the Software on an AVR; the HOST and the NET. It is important to note that each Host has a corresponding Net. For instance:
- Host 0.75 & Net 178
- Host 0.95 & Net 307
- Host 1.34 & Net 608 etc.
Each Net version contains a copy of the Host as well as its own software for the Net module. (This is important to know, but we will talk about that in a bit).
Now that you are up to speed with the basics of what the software is and how to check what version your AVR is currently on, let’s move on to the reason you are all here: “How do I update my AVR?”
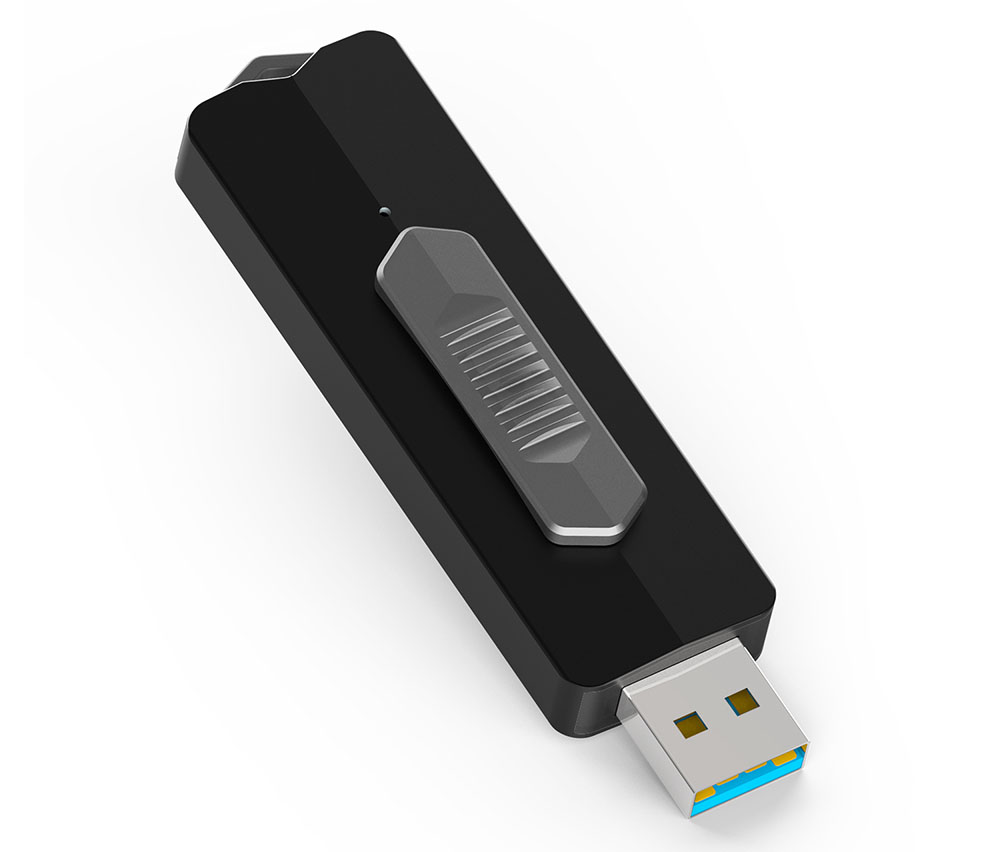
USB Updating
We will start with the traditional USB updating. For this you will need to download the update files from the relevant product page on www.arcam.co.uk. Once downloaded you need to unzip or extract the files from the ZIP folder they were downloaded in. (in Windows, right click on the folder then click on "extract all.") You will see three files:
- AVRx0_SystemXvXX.FW the HOST file
- image.SWU the NET file
- A PDF called AVR10_AVR20_AVR30_AV40_Software_Release_Notes_XvXX_0vXXX
Within this PDF it will give you information on what is included with the update. This may be bug fixes, or the introduction of new features. It is very important to read this thoroughly, as the update process may change in the future.
Once you have the files, place the Host and Net files together on to a freshly formatted (FAT32) USB memory stick (the AVR’s like 2-6 GB sticks).
Insert the stick in to the USB port on the back of the AVR. Then, using the front panel, press INFO and DISPLAY simultaneously. You will now see a popup asking if you want to update. Press OK. This will take about 30 minutes. After the updateyou will see a popup asking to reset the AVR. Press OK. The AVR will drop in to standby, the update completes, and the AVR resets.
Updating via a Computer
No USB stick in sight? No problem! Again, you will need to download the files from the website, but this time all we are going to need is the image.SWU file.
For this update method, we are going to use the AVR’s web GUI (Graphical User Interface). It sounds complicated but it is just the AVR’s internal website. You will need to make sure your AVR is connected to the internet and has an IP address. You can find the AVR’s IP address in its Network settings menu. Once you find the IP address, on a computer that is connected to the same network as the AVR, open a web browser (Chrome, Firefox, Safari etc.) and type the AVR’s IP in to the address bar of the Browser. This will load the web GUI. From there click “Device Settings” on the top banner. Once the page loads, click on “Reboot device to the Update Mode” and the webpage will reload (it’s important to note the AVR’s screen will not change).
On this new page click on “Choose File.” Then find the image.SWU file you previously downloaded (be very careful to select the correct file). Once you have selected it, the Net update begins. This will take around 5-7 minutes. Once completed the web page will refresh. Now you have just updated the Net. So you may be thinking “what about the Host Tom, you have forgotten the Host!”
You see, here comes the cleaver bit. Remember I told you each Net contains a copy of its corresponding Host? If you enter the engineering menu now and press “Check for Update,” what happens is the Host is checking the Net to see what version of Host it contains. If it detects a different version than the currently installed host, it will install the version from the Net.
Therefore, if you had Host 0.95 installed but you just updated to Net 608, if you check for updates in the engineering menu, Host 0.95 would go (this is exactly what happens word for word, or so our development engineers inform me):
Host 0.95: Hello Mr Net, what Host version do you have?
Net 608: I have Host 1.34
Host 0.95: Well, that’s different than mine, so better overwrite myself and install 1.34
Net 608: Fantastic.
This will take 90-120 minutes for the update to complete. One thing to watch out for: if you have an old Net and a more modern Host and pressed “Check for Update,” you would roll the Host back to whatever version is installed on the Net.
Auto Update
Now for the easiest method of all -- the automatic ‘Over the Internet’ update feature. For this, all you need to do is make sure the AVR is connected to the Internet. In HDMI settings, make sure HDMI Bypass and IP is turned ON. This way the Net is awake and can talk to the Internet when the AVR is in standby.
When an update is released, the AVR will detect it overnight (if in standby) and automatically update the Net. The next time you turn on your AVR you will see a popup message saying an update is available. If you then press OK, the Host will update. If you choose not to update the Host at that time, you can do so later from the engineering menu by checking for updates. Again, after the Host has updated you will see a message saying that the AVR will now be completely reset. Press OK to reset the AVR.
That covers the ways you can update our new HDA AVR/AV range. Thank you for taking the time to read this. Hopefully this will help you get your AVR on to the latest software, as well assist any of your customers who may ask. Of course, if you need some help feel free to contact [email protected] if you are in the UK or Europe, or [email protected] if in the USA.